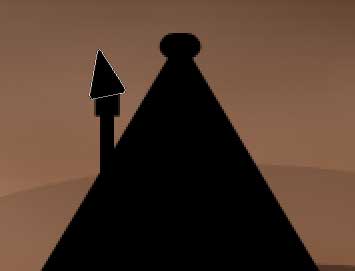
In this tutorial you will learn how to make your personal wallpaper.
So, firstly we have to create a new file (File>New) that would have 1024×768 px and 72 dpi. Choosing the Rectangle Tool (U), stretch on the object the whole page and set the here demonstrated Blending Options>Gradient Overlay for it.

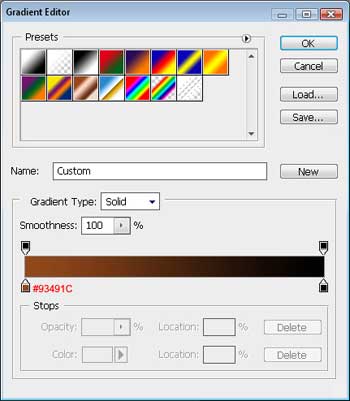
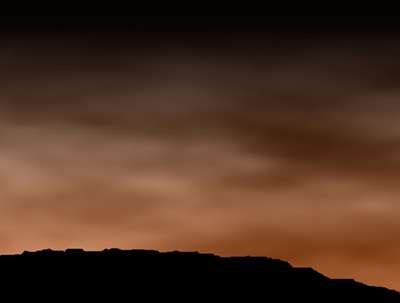
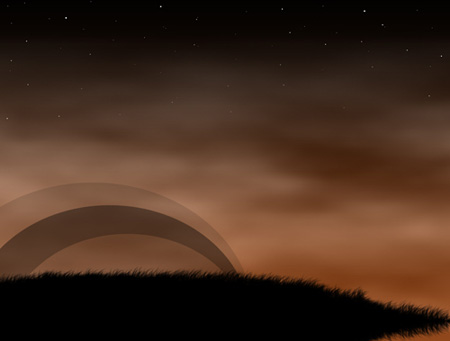
You may see the result we’ve got at this moment:

Create a new layer and select the next function: Filter>Render>Clouds.
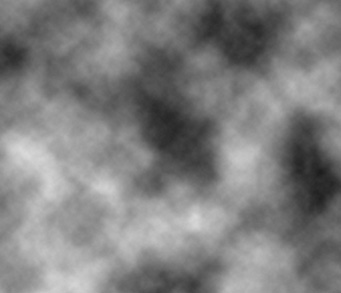
Next we’ll change the parameter on the Layers palette.

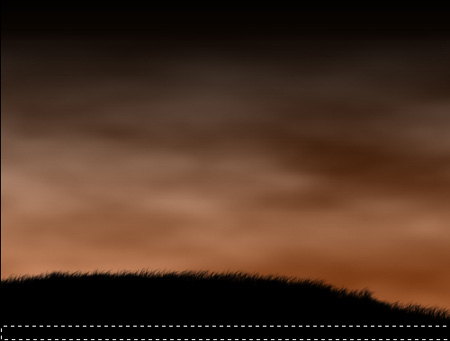
You must have the same picture presented below:

Make a right moue’s click n the picture and choose the Free Transform selection.
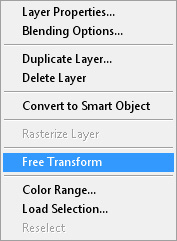
…and stretch out horizontally the layer: After that we have to select Filter>Blur>Box Blur…

So, firstly we have to create a new file (File>New) that would have 1024×768 px and 72 dpi. Choosing the Rectangle Tool (U), stretch on the object the whole page and set the here demonstrated Blending Options>Gradient Overlay for it.


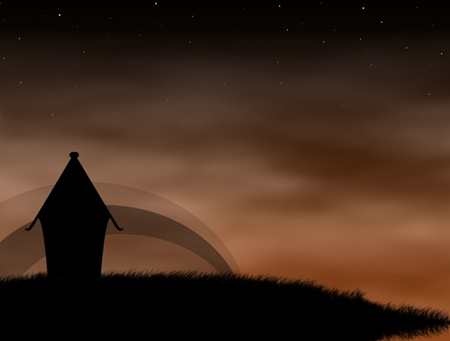
You may see the result we’ve got at this moment:

Create a new layer and select the next function: Filter>Render>Clouds.

Next we’ll change the parameter on the Layers palette.

You must have the same picture presented below:

Make a right moue’s click n the picture and choose the Free Transform selection.

…and stretch out horizontally the layer: After that we have to select Filter>Blur>Box Blur…


